


To use the MediaSpot feature to start creating your multimedia projects from scratch, you’ll want to use the MediaSpot template called Blank Template.
How to Create a New Project
- Click on Media Tools from the top menu and select MediaSpot Project.
- Next, click on the New Project icon (magic wand) on the Blank Template thumbnail.
- Once you click the New Project icon, you will be prompted to give your project a name.
- Once you click OK, the following screen will display.

Add Columns and Elements to Your Project
MediaSpot uses a column system to help organize your media items. If you look at the picture above, you will see a 1-column display item running the full width of the screen. At this point, there is no item associated with that column. You can click and drag any of the items across the top, into that 1-column field. For this example, I will click and drag the text field into that column, which I will use to create a project header.
Click on the green “A” icon to go to the online Text editor.
The text editor allows you to add an unlimited amount of text. Once text is entered, you can use the various tool icons to do things like: change font size, color, and style; bold, italic, underscore your text; center, left or right justify your text; add hyperlinks to web pages, emails addresses, etc. When you are ready to save your text, click the green “Apply” button.

Adding Media Items
Understanding that all items need to be placed within a column, you will need to click and drag a new column item to your project. In this example, I want to add three (3) videos to this project, so will click and drag the 3-column field into the project. Once I have the three columns, I will click and drag the Video icon into each of the columns. You can just as easily make these columns Images, Audio Files, Text fields, or a combination of various items.
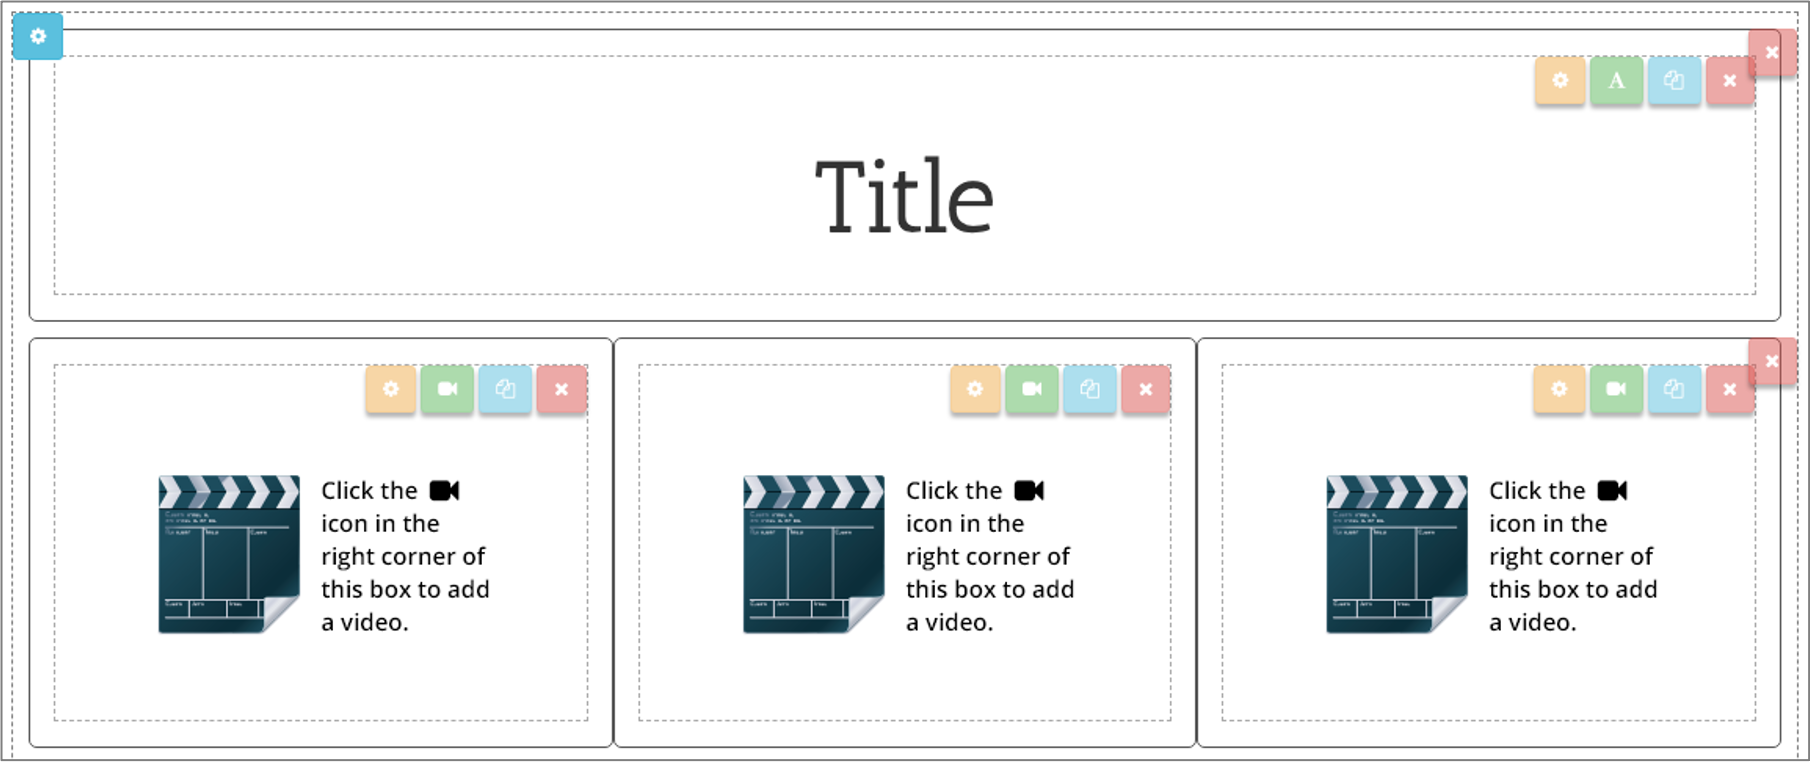
To insert your videos into each of those video fields, click the green Video icon at the top right of the video box. Once you click this icon, you will see the following options:
- My Videos: the system will display all folders and videos in your account.
- Record Video: this will open the built-in Video Recorder.
- Upload Video: upload videos from your device directly into your project.
- Favorite Videos: select from videos chosen as favorites.
- All Videos: this will open all videos within your school or district that you have access to.

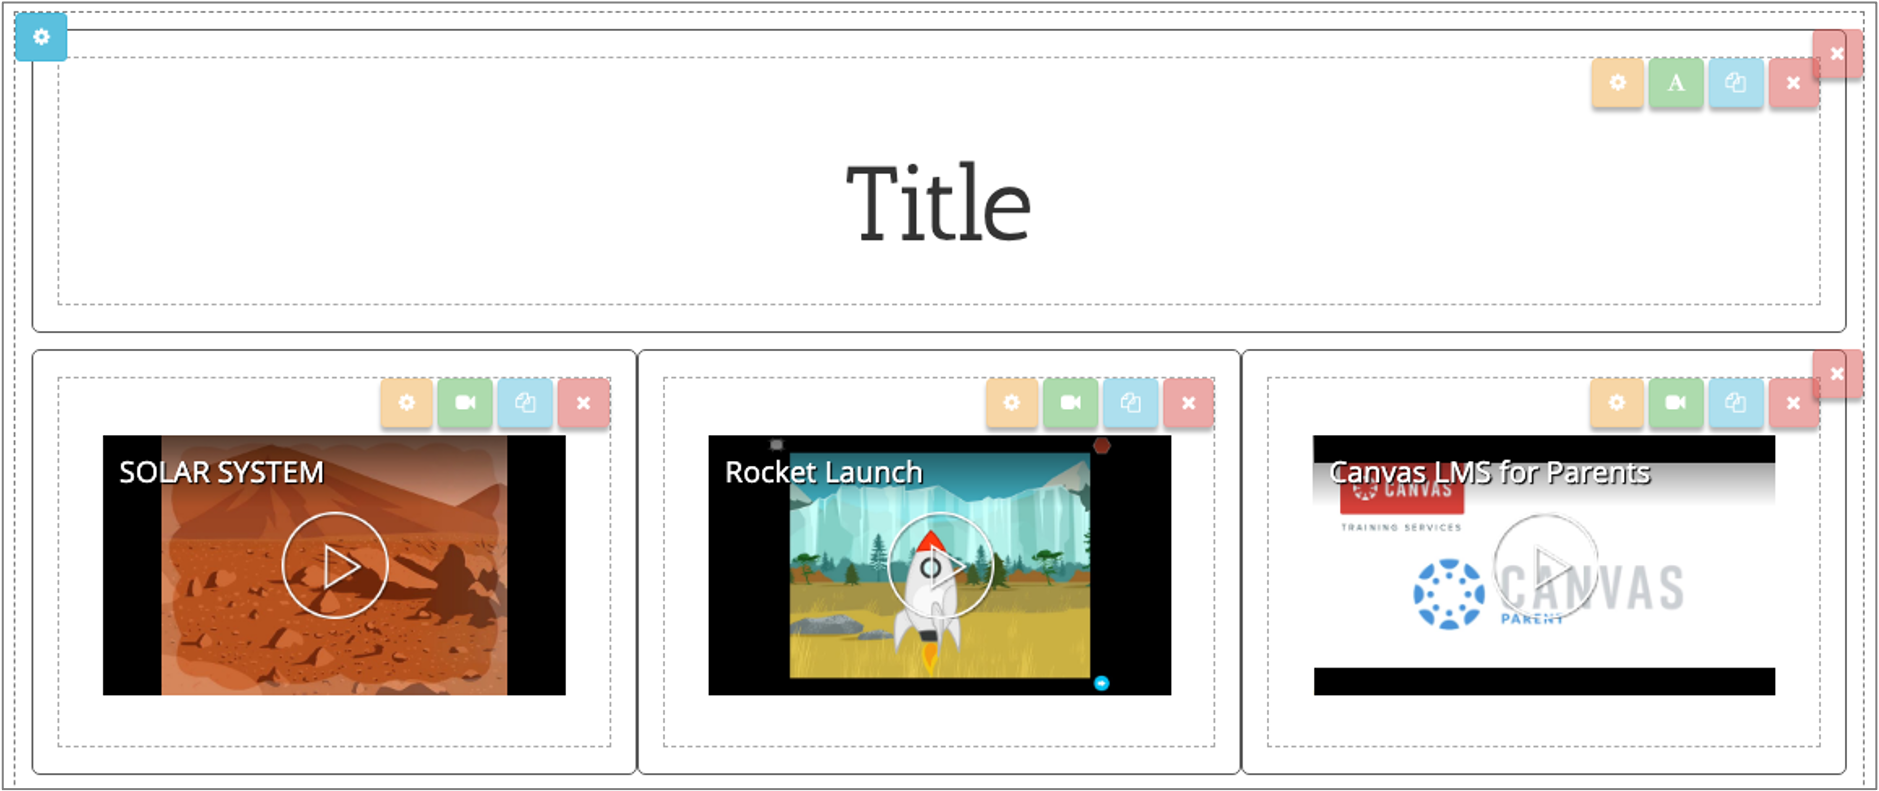
If you decide to change one of your videos, just click the green Video icon, and then select the new video to appear in that location within your project.
In this example, I will add a text box under each video to describe the video. So I will drag a Text element into each of the columns, giving me the opportunity to add as much text about each video as I would like.
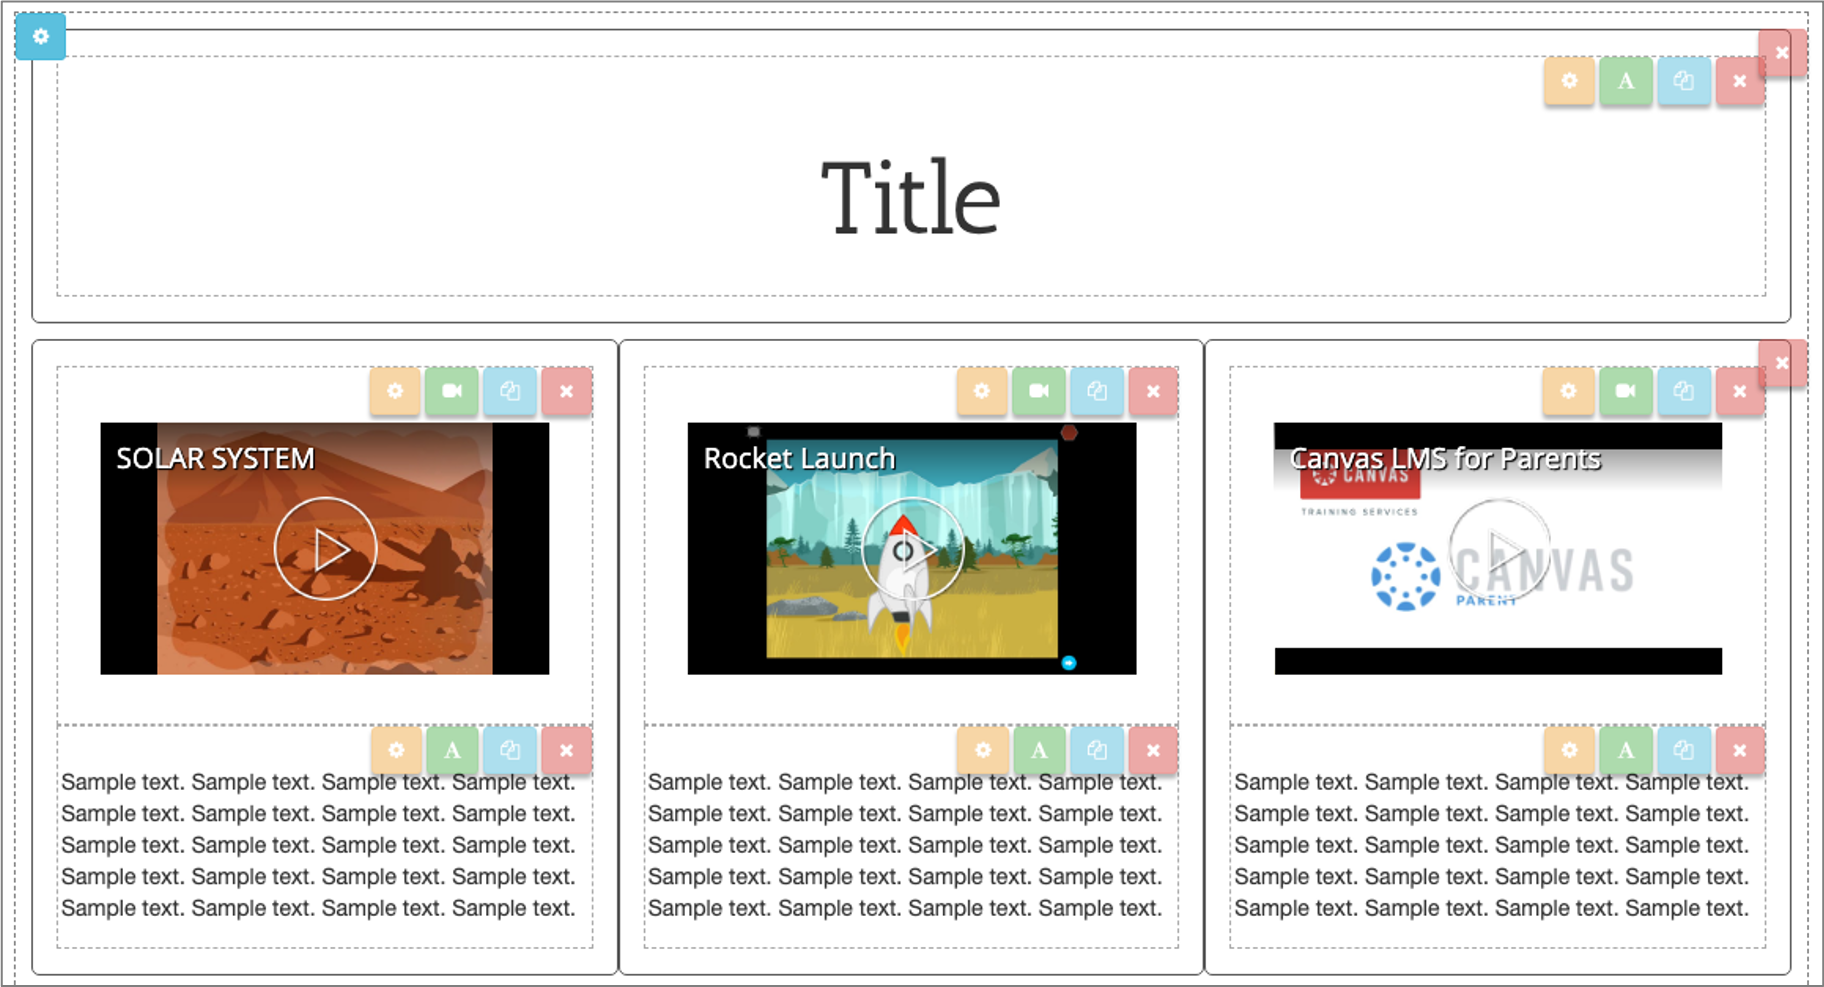
You can continue to add as many fields to your project as you want.
Previewing and Saving Your Project
To preview your MediaSpot project, click the Preview button in the top-right corner of the project.
By default, your project auto-saves every five minutes, but you can also click the Save Project button to save at any time.
Once your project is done, or if you just want to save it to come back to later, click the Save and Close button. This will save your project and will automatically create a unique URL link to this project.
If you do not want to save the project, click the Close button.