Skip to content
MyVRSpot/MyVideoSpot Media App for Schoology
Installing the MyVRSpot Media Resource App
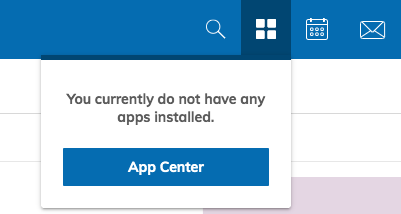
- Click on the App Center icon (four squares on the top menu bar).

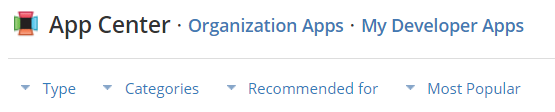
- On the App Center page, click on the Type dropdown and select Resource App.

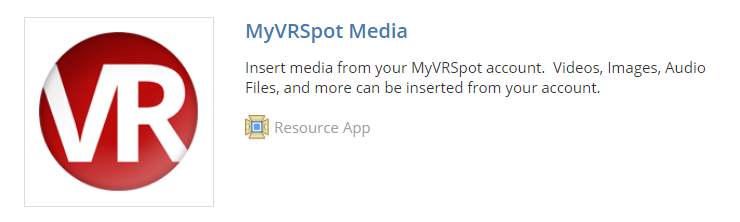
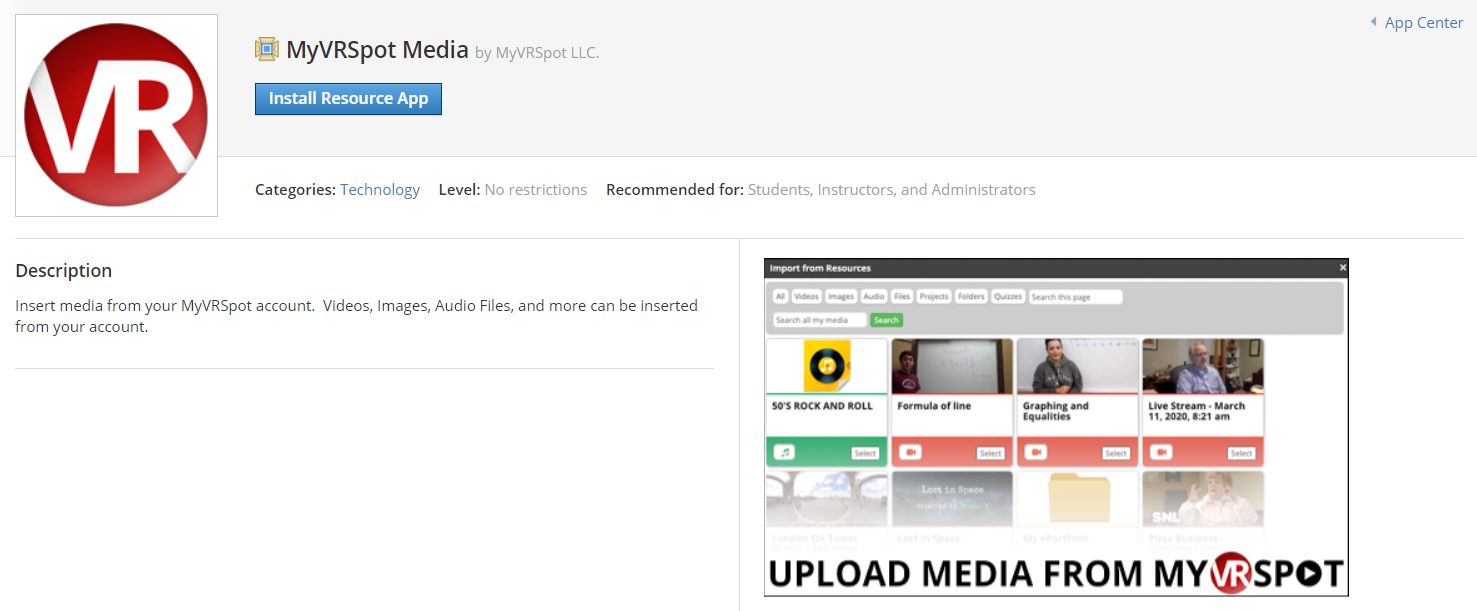
- Click on MyVRSpot Media from the list of apps.

- Click on the Install Resource App button.

- For the first pop-up, click I Agree to agree with sharing information between MyVRSpot and Schoology. For the second pop-up, select Install for Me if you’re installing the app just for yourself. If so, you’re all set– you’ve added MyVRSpot Media to your Schoology account! If you are a Schoology admin that’s adding this to your district though, please select Add to Organization and continue to follow these steps.
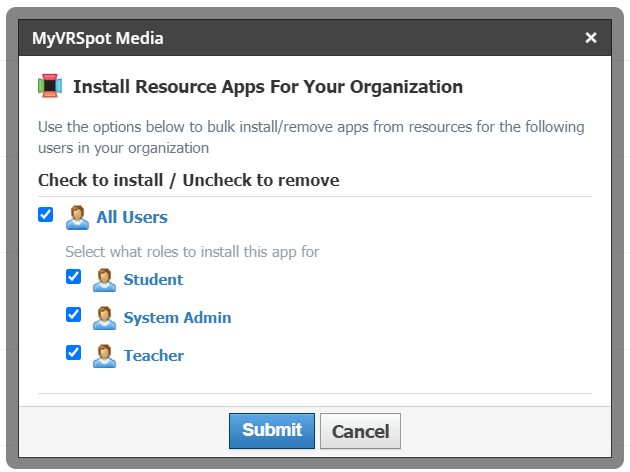
- You should now be on your Organization Apps page and MyVRSpot Media is listed. Click on the Install/Remove button.

- Click the All Users checkbox to select all Schoology users within your district. If you’d like to limit it to just certain groups, this is where you’d modify that as well.

- Once you click Submit, you’re all set!
Adding Media from MyVRSpot into your Schoology Assignment
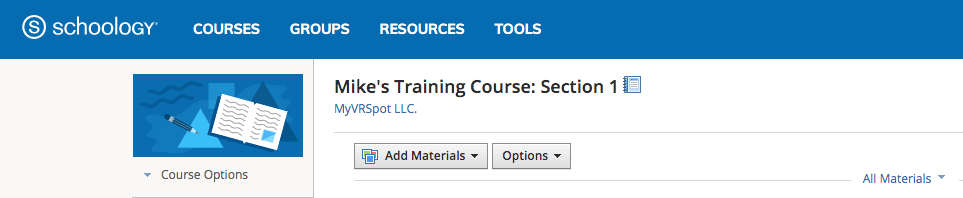
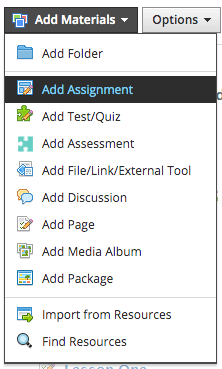
- Launch your Schoology then click Courses from the top menu, and then click Add Materials.

- Click Add Assignment.

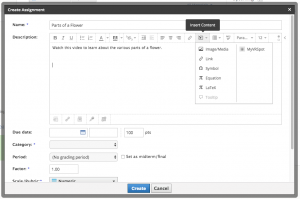
- In the assignment window, enter information about your assignment as normal. In the editor, when you are ready to add a video from your MyVRSpot account, click the Insert Content icon on the editor bar, and select MyVRSpot Media. This will display a new pop-up window that contains all of the media from your MyVideoSpot account.

- Click the Select button for the media item you want to add to this assignment.
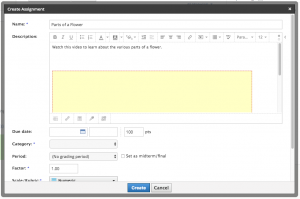
- Once the media is inserted, you will see it in your assignment or it will be represented by a big yellow box if it’s a video.
- Select a course and any other optional items, and then click the Create button at the bottom of the pop-up.
- Check out your new assignment– you’re all done!
Page load link