


Different Methods of Uploading Media
Whether you are looking to upload a video, image, audio, or other digital file to your gallery, you will start by clicking the Upload menu item.
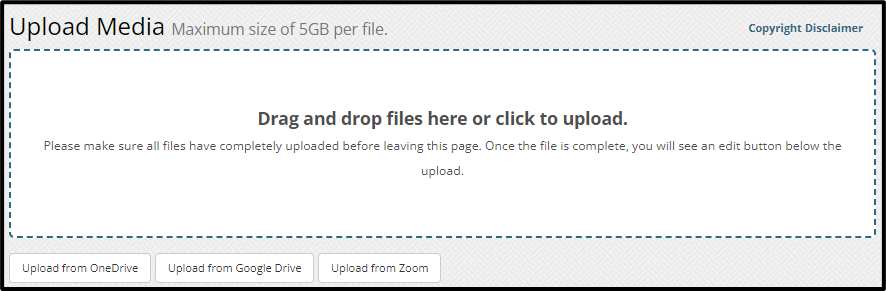
You have a few options on how to upload media into your account when using the Upload tool. You can:
- Drag and drop your files into the upload box
- Click your mouse to navigate to the file on your computer’s drive
- Access and copy Microsoft OneDrive files directly into your account
- Access and copy Google Drive files directly into your account
You can upload multiple files at a time regardless of the file type. Once a file has completed the upload process, an edit button will appear under the uploaded item.
Video File Types
The MyVideoSpot system accepts most video file types for upload, including; .mov, .wmf, .mp4, .avi, .flv, .3gp, to name just a few. The system will automatically transcode, or convert, your video into an .mp4 format, which is a nice compression format for viewing on Windows and Macintosh computers, as well as on all mobile devices.
Other File Types
If you are uploading an image, you can upload either a .jpg, .jpeg, .bmp, or .png file. If you are uploading an audio file, you can upload a .mp3 file. Additionally, you can upload non-media file types, including documents, spreadsheets, presentations, and much more.
Media Uploaded by Students
All media uploaded by students (videos, images, audio files), must go through an approval process before their content is viewable by other students. Please read about Pending Media for more information.